
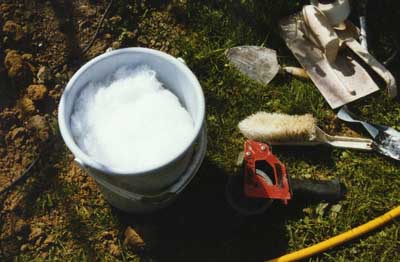
 To successfully render the concrete blocks, you need to mix in a quantity of REIN fibres to your mortar mix. Once this has been done and the render allowed to dry out, some fibres will be protruding from the surface. Using a blowtorch on these fibres shrinks them back to the render surface. To make a complete waterproof pond you now need to apply THREE coats of Bondaglass G4 to the inner render of the pond.
 One thing to remember when you plan to start rendering is the order that you render in. The critical thing is that ALL RENDERED SURFACES must be done at the same time so that the fibres in the render are interlocked. If you do not have any prior experience of plastering, then call in someone who has the necessary experience. The only work I didn't do myself was the rendering and Peter West who is a local General Builder and Plasterer did it for me.

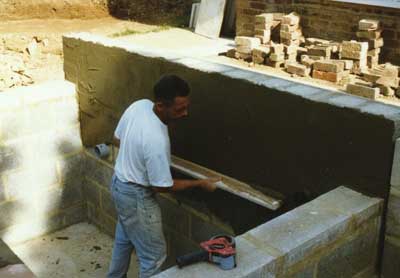
 Peter rendered the large back wall of the pond first before moving onto the side walls. After the sidewalls had been rendered, it was time to render the pond floor of the deep section.
 Peter then worked his way up to the shallow section, making sure everything was finished as he would not be able to get back to rework anything later.
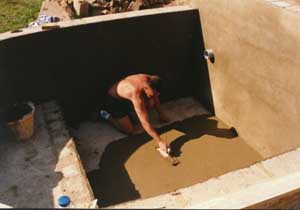
In this photograph you can see how Peter has ended up at a position where he can easily get out of the pond.
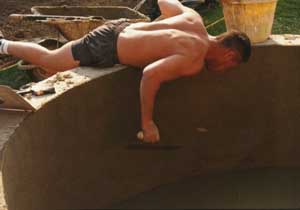 Once Peter had got out of the pond, he just had to finish off the area where he had previously been standing. Remember, the pondwall he is leaning over is also freshly rendered and so he has to avoid disturbing this whilst leaning over and applying the final render to the pool bottom.
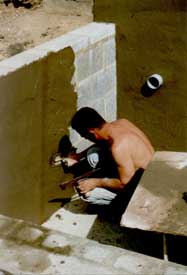
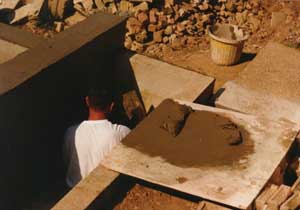 In this photograph you can see Peter working in the pond filter area. Due to the position to the house, this filtration chamber had to be built narrower than I would have ideally liked, hence the tight working position.
Once all the rendering has been carried out and started to dry, the next recommended step is to fill the pond with water and leave for a few days.
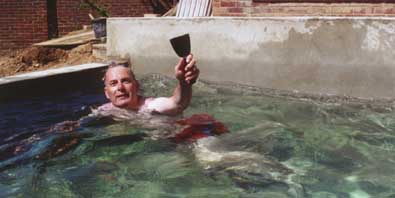 If this happens to be when it is mid-summer, you may be tempted to try the pond out for yourself - exactly as I did as can be seen in the above photograph. You can always pretend to be working by having a tool nearby that you can grab quickly, in the event that your partner comes back unexpectedly!! Hence the bolster in my hand.
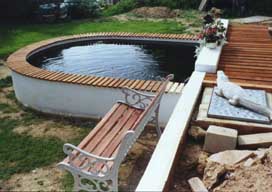
In the final photograph, you can see how close the manhole is to the pond filtration chamber. The concrete crocodile gives an idea of the proportions. The decking on top of the pond walls has just been laid loose in this photo to provide an idea of how the finished pond will look. This is covered in more detail under Finishing Touches